They say never to scrimp on ground tackle. Well, with that said... we already have a set of three big anchors aboard Dos Libras. They came with the boat, which was successfully cruised for years prior to our purchasing her. With all of the differing opinions out there about anchors... it's hard to know what to do. We decided to keep the anchors we have and cruise for a while, then decide if we need to make a change.
One change that we DID need to make, however... was the way our anchors were set up. Or NOT set up, as the case may be...
 |
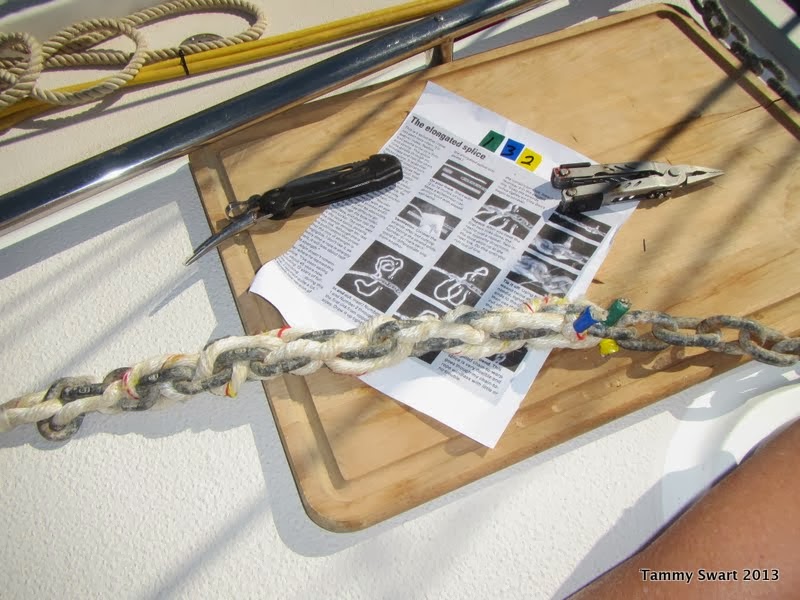
| Elongated chain to rope splice |
We started on our secondary anchor, which is a 35 lb. CQR. I know, I know, nobody loves a CQR. But, it is our secondary anchor and it's what we have! It was set up with 35 feet of chain and a length of nasty frayed rope. No Bueno! Bruce got the Maintenance Director here at Portofino to cut off a length of rusted out chain. This left us with the need to reattach the rope to the chain. I wanted to use an elongated splice instead of the back splice method. I believe that it is stronger. I found a
PDF with instructions and we found the splice to be much easier than the eye splice we had done when we made our
Snubber. We finished that project and tucked the rode into the secondary bin inside the anchor locker. Job one done!
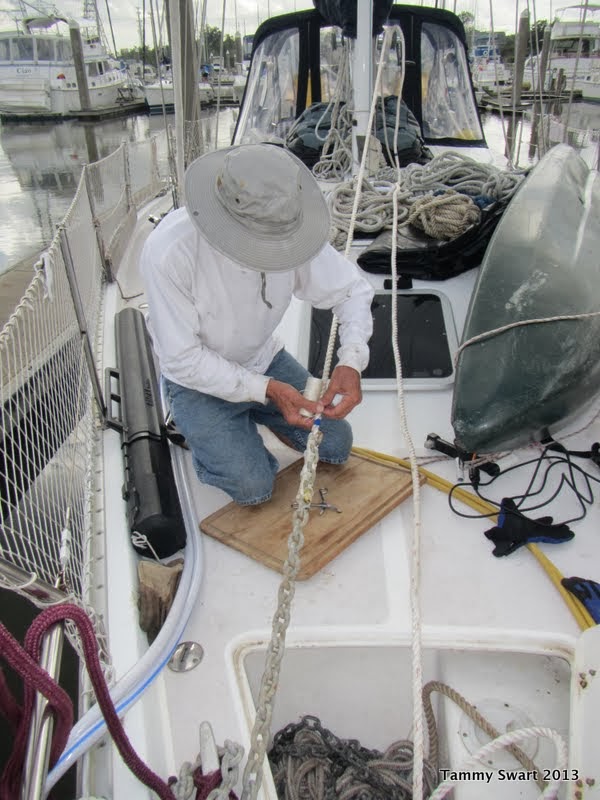
We went to work next on our primary anchor, which is a 55 lb. Spade. We have had nothing but great experiences with it and haven't dragged anchor yet (knock on teak). We are gaining confidence in our primary, but needed to make a change. It only had 110 ft of chain and no rope rode. This is great for most of the places we have anchored (or will?) but we felt that we needed to extend the length by adding some three strand rope. The rope adds the ability to stretch should we get into a storm situation where our chain-only rode is hard on the boat. We have a
new snubber for use when we have out only chain, but we want to be prepared for all situations.
This time, I found a better set of instructions for the elongated splice. This one didn't stop after the first set of tucks and skip to the end. If you plan on using this to do some splicing yourself, take a look at both but use
this one for your splice.
 |
| Finished splice with whipped links |
This website also advised to whip each of the longer strands to the chain. The splice we did on the primary anchor seemed OK without this step, but the newer line we used for the primary anchor was softer and the whipping was necessary.
 |
| Success! It went through the windlass! |
Since this splice would also need to go through our windlass gypsy, it needed to be very tight and tidy.
We tested the splice to make sure it went through before we finished it off. It took a tiny bit of coaxing, but it went through smoothly. I think that once the splice gets "settled" and isn't so new... it will go right through without a hiccup!
We loaded up the line and Bruce whipped the spots that needed it and we were ready to move on.
Before we packed the new line into the anchor locker, Bruce put marks on it at 15 ft. intervals.
We still needed to mark the chain, which once had zip ties marking the lengths, but most of them are long gone.
This time, we're using a silver rust paint that Bruce got for cleaning up some spots in the engine room. I would have chosen a more visible color... but its silver, so that's what we have!
Bruce also brushed off the rust from the point of our anchor. I painted that with rust paint too.
Once dry, we packed the primary anchor and chain into the locker... Job two done!
The last job was very easy. All we needed to do was cut off the rusty eye splice attached to our third anchor, a Fortress. By this time, we were getting pretty good ad making the eye splice and I think it turned to be our best!
We enjoyed learning how to splice, and still could maybe try a few things differently next time, but we're feeling pretty good about getting these things off our To-Do list... Here's to hoping they don't appear on the TDO (to do over) list!


No comments:
Post a Comment